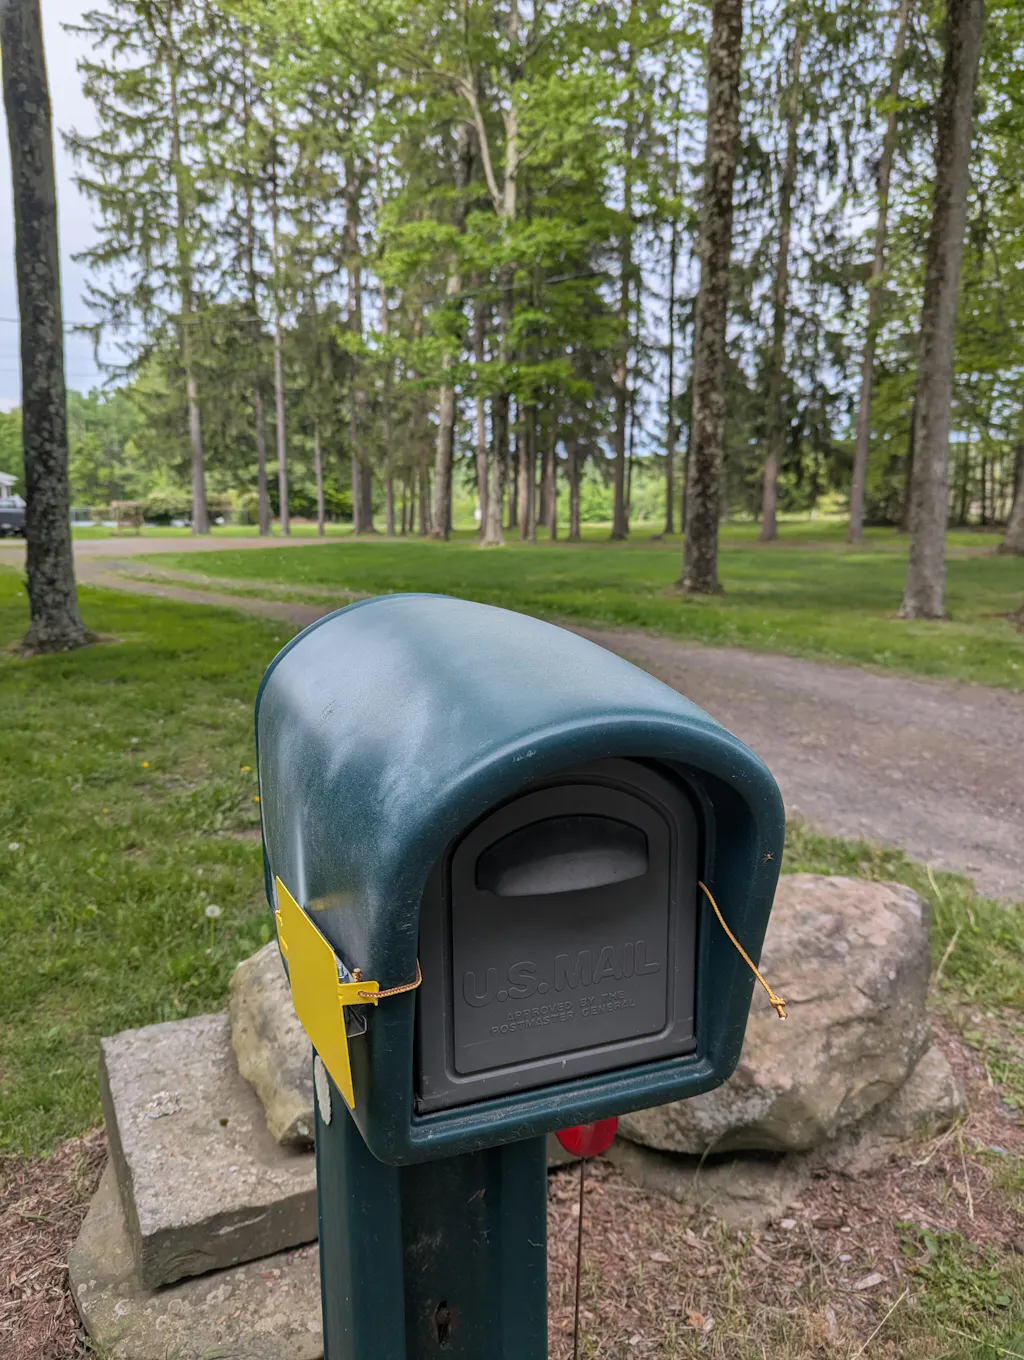
Installation

Mail Time flag pops up - Your mail has arrived!


Mail Time installs in just a few minutes using basic tools. Clear photo instructions are shown below and included with every order.

Step 1:  Slide tabs under top latch and slide backwards until snug.

Step-1

Step 2:  Insert provided bolt through holes

step-2

Step 3:  Tighten nut on bolt

step-3

Step 4:  Close flag inside mailbox door. After initial installation, the tab should be gently adjusted once for a good fit. It is not designed to be bent back & forth regularly, which can cause the tab to break.

step-4

Step 5:  Ready for mail delivery

Step 6

Troubleshooting

Magnetic Mailbox Door?
Mail Time is not compatible with a magnetic door closure, as the door must close fully for the magnet to make contact and stay closed. 
No latch on your mailbox?
No problem - Simply align Mail Time! on mailbox with door closed. While holding in place, open door and allow flag to open. While holding in place, mark top of mailbox through hole in product. Then:

1) Use strip of double-sided tape such as 3M tape to adhere silver metal frame to mailbox top. This solution may be less permanent, depending on your climate.
2) Drill pilot hole for machine screw. Insert machine screw through Mail Time!, flat rubber gasket or dab of Shoe Goo to ensure waterproof mailbox, and then the hole to secure flag to top of mailbox. Tighten nut inside the ceiling of your mailbox.

step-6
Mail Time! is designed for mailboxes where the door closes over the face of the box. Mail Time! is not designed to fit on mailboxes where door is flush inside the mailbox, such as these styles: